If Windows 10 is still relevant, Microsoft is now focusing on Windows 11. The operating system has a lot of interest and sustained development. Within a year, it has been enriched with many new features.
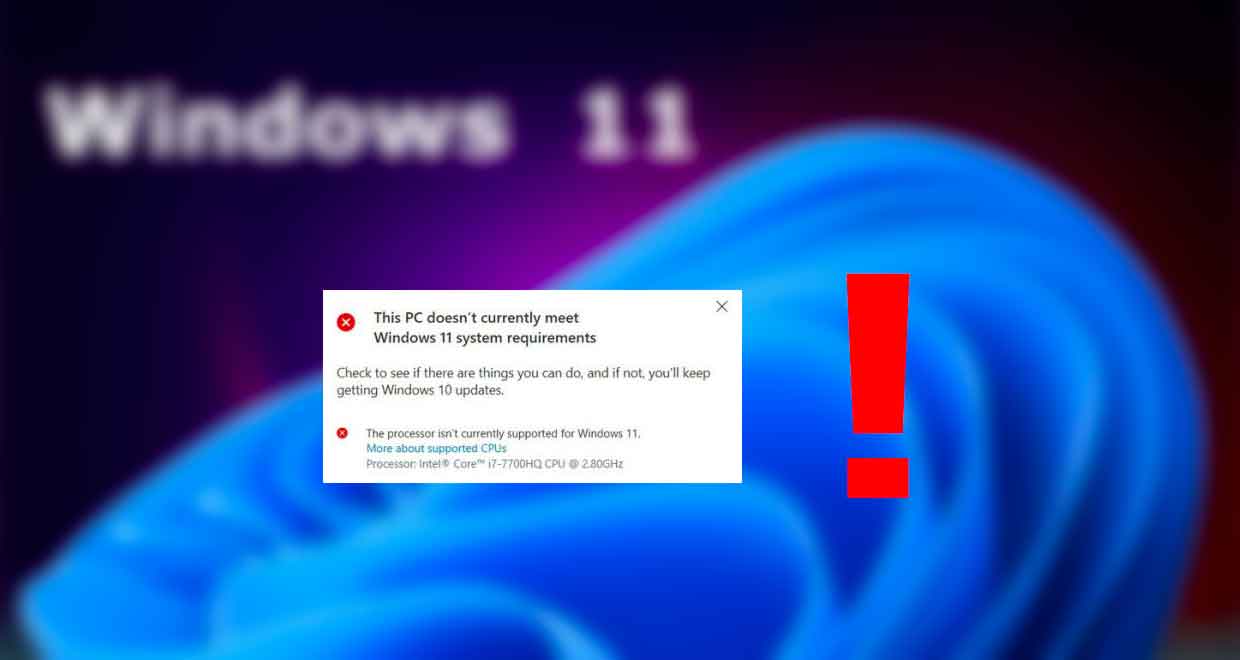
However, not everything is perfect. While its new features and user interface are attractive, its system requirements are quite demanding. This is a problem because millions of computers capable of running it are not supported. Obviously, these older systems are not allowed to upgrade to Windows 11 from Windows 10 or any other version. It is unlikely that Microsoft will decide to back down.
When Windows 11 22H2 launched, the giant updated the list of supported processors by adding AMD’s Ryzen 7000 series and the 13th generation Intel Core. For older models, there’s no change in sight.
The company said there are no plans to add support for seventh-generation Core and first-generation Ryzen “Zen” chips. Note that in 2021, some 7th generation Intel processors such as Core X series and Xeon W series were added after the tests.
In terms of other requirements, we find TPM 2.0 and secure UEFI support as well as the need for 4GB of memory and 64GB of storage space. According to Redmond, all of this is “essential” to enjoying the best possible Windows 11 experience.
Windows 11 and unsupported processor support.
Fortunately, there are workarounds to circumvent these limitations. Regarding unsupported processors, here is a method. It’s not complicated, but some manipulations are necessary.
The idea is to modify the Windows 10 installation key so that it will eventually install Windows 11. In this case, we are talking about a “hybrid” installation medium.
1 – Check your device’s BIOS mode
The first thing to do is find out your computer’s BIOS mode. There are two possibilities UEFI or Legacy. To find out, you just need to run the utility system information. You can find it by typing “msinfo” in the taskbar search box. Then in the right pane of the system summary, the BIOS Mode line indicates your status. Note what is written.
2 – Create a Windows 10 installation USB key
The second step is to download the latest Windows 10 installation ISO and then create an installation USB key. There are several ways, one of them is through the Rufus utility. The USB key must have at least 10 GB of storage space. Information about BIOS mode will be useful to you, as it allows you to choose the right partition scheme.
If the BIOS mode is legacy, you must use the MBR partition scheme. For UEFI mode, use GPT.
3 – Create hybrid installation media for Windows 11
Then download the installation ISO of the latest Windows 11 build.
On the USB drive where the Windows 10 installation files are located, find install. esd where install. wim. The idea is to rename it to install1.esd or install1.wim since we are going to replace it.

Then in the Windows 11 ISO files (just mount the image. The command is available in the menu with a simple right-click on the ISO) look for install.esd or install.wim. If this extension matches the one used by the Windows 10 installation file, copy the Windows 11 file to the Windows 10 folder. If the extensions don’t match, you must first convert the Windows 11 installer file before copying it.
You can then use the installer to upgrade to Windows 11.

“Hardcore beer fanatic. Falls down a lot. Professional coffee fan. Music ninja.”


More Stories
When the sun rises Radio-Canada.ca
Parhelia – auditory canal
Ocean looks from the heart in a film discussion